By Denise Troiano and Joseph Smith
 Now that you have successfully created your shower pan pre-slope, it is now time to install the walls.
Shower walls are installed typically one of two ways: Sinking them into the mortar bed or terminating them just above the mortar bed. If installing above the bed, then the mortar bed must be completed before starting the wall. Not all cement boards can be sunk into the mud, so if in doubt, call the manufacturer and confirm.
Ensure that the framing is sound and complies with your local building code. A typical stud installation consists of 2x4s or 20-gauge metal beams that are installed straight and spaced a maximum of 16" (41 cm) on center, with blocking in between.
Before installing the cement boards, check the studs for flatness and that they are in plane. If needed, furr out with shims or sister in another stud, among other repair methods.
You can install cement boards either vertically or horizontally, making sure that the edges are supported by a structural framing member. Cut the cement boards to the required sizes.
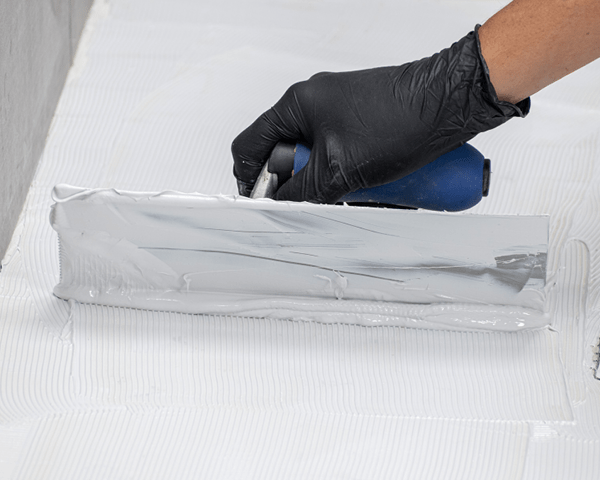
For most interior shower installations, the use of vapor barriers behind cement boards is not always necessary; always check with your local building code. A roll-on liquid-rubber membrane is highly recommended on the surface of the cement boards before tiling.
If sinking the cement board
 Once the pre-slope has been established and the waterproof pan liner is in, install the cement board per the board manufacturer’s guidelines. Start your screw pattern a minimum of 3" (7.6 cm) above the finished mud floor if you are installing a curb, and 6" (15 cm) if you are doing a curbless installation.
Screws should not penetrate below the flood rim of the shower for a curb installation. For a curbless installation, start 3" (7.6 cm) above the finished floor.
Follow the manufacturer’s recommendation on the specific screws or nails that are required for the installation – screws are most used. Screw the cement board to the wall every 8" (20 cm); be sure to install screws flush with the cement board.
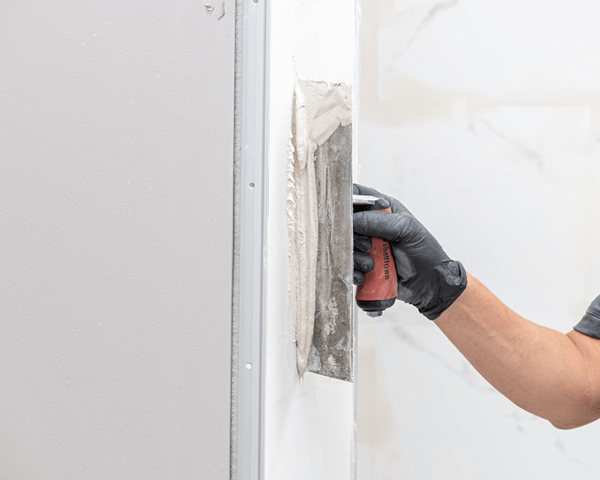
Once the cement boards are up, cover the board joints with 2" (5-cm) alkali-resistant, fiberglass-mesh tape and cement-based thin-set mortar, such as Keraflex Plus. If a waterproofing membrane will be applied, wait 24 hours after taping to apply the membrane.
Not sinking the cement board
Install the pre-slope, waterproofing membrane and mortar bed before starting the wall installation. Wait the allotted time – approximately 24 hours per inch (centimeter) of mortar bed, plus an additional day.
Install the cement board, leaving a gap (typically 1/8" [3 mm]) between the bottom of the cement board and the pan itself. Fill the gap with a backer rod and 100%-silicone sealant.
Cover the joints with alkali-resistant tape and thin-set mortar (for example, Keraflex Plus), as mentioned in the “If sinking the cement board” section. Allow to dry 24 hours and waterproof with a liquid-applied waterproofing membrane.
Denise Troiano
Denise Troiano brings 24 years of experience in the tile, stone and installation products industry to MAPEI. Working with manufacturers, retailers, designers and installers during this span allows her to answer a wide range of questions from homeowners and industry professionals.
Joseph Smith
Prior to coming to work at MAPEI, Joe worked in the tile industry for 40+ years as an installer, and for 38 of those years he owned the contracting business. He now uses that real-world experience and knowledge to help customers while working as a Technical Support Advisor for MAPEI.
Subscribe to our newsletter to get Mapei news


Comments
Load more comments