The aim of this document is to offer guidelines to help correctly prepare substrates for the successful subsequent application of ceramic and stone floor coverings.
Fundamentally, an installed system is only as strong as the strength of the weakest bond between two successive layers. The correct preparation of the substrate is the first major step in achieving successful adhesion.
Maintain adequate environmental conditions and protect workers during and after installation. Where necessary, build a temporary shelter and/or use indirect auxiliary heaters to maintain suitable temperature levels in the working environment.
Maintain substrate and ambient temperatures in tiled areas at between 5°C and 35°C during installation and for at least 7 days after completion, unless otherwise indicated in the product instructions. Both temperature and humidity have an effect on how products cure and develop strength.
Turn off all forced ventilation and protect the work against drafts during installation and for at least 72 hours after completion.
Comply with trade and industry standards, construction work health and safety, and any manufacturer’s printed recommendations throughout the works.
Consider the surrounding environment by disposing of any harsh chemicals, materials, and products in the appropriate manner.
Before work commences, examine the areas which are to receive tiling and report any deficiencies or adverse conditions in writing to the general contractor, owner, developer, or architect. Do not proceed with work until surfaces and conditions comply with the requirements indicated in the manufacturer’s instructions, applicable industry standards, local regulations, and good work practices. The commencement of work indicates that the applicator/user acknowledges the substrate and conditions as acceptable for installation.
1.1 All substrates must be structurally sound, dry, solid and stable. The substrate should be clean and free of dust, dirt, oil, grease, standing water, laitance, old paint, curing compounds, concrete sealers, loosely bonded toppings, release agents, old adhesive residues (unless otherwise recommended by MBP (NZ) Limited) and any other deleterious substance or contaminate that may prevent or reduce adhesion. If the substrate contains these substances, they must be removed via mechanical means.
1.1.1 Warning: Do not install over vinyl asbestos tile (VAT) or any flooring, substrate or substance that may contain asbestos. For removal instructions, refer to the Resilient Floor Covering Institute’s Recommended Work Practices and follow all local, regulations and industry standards when mechanical removal is required.
1.1.2 Warning: Certain paints may contain lead. Exposure to excessive amounts of lead dust presents a health hazard. Refer to applicable local laws regarding the appropriate methods for identifying and removing lead-based paint.
1.2 Examples of mechanical preparation include diamond grinding, scarification, water-jet blasting, sanding, and shot blasting. When installations are to be performed on timber floors use floor sanders. The final process in mechanical preparation is vacuum cleaning and the use of a damp cloth/ sponge/mop to remove loose particles.
1.2.1 Acid etching or the use of harsh chemicals to prepare surfaces is not recommended. These can potentially leave a deleterious residue on the substrate.
1.3 Imperfections and irregularities that may interfere with the installation (holes, voids, bumps, cracks, depressions, etc.) must be corrected before the application of subsequent products. MBP (NZ) Limited has a complete range that can selected from our website at www.MBPLtd.co.nz
1.4 The maximum variation in plane limits (AS 3958.1-2007):
Thin-bed adhesive: 5 mm over 3 m
Thick-bed adhesive: 10 mm over 3 m
Screed: 20 mm over 3 m
Walls: 4 mm in 2 m

1.5 Substrate deflection must not be excessive. If in doubt, refer to an engineer or substrate manufacturer. Under live, dead, or impact actions including concentrated loads, deflection must not exceed L/360.
1.6 Any joints in the substrate must be appropriately treated or carried through into the tiling works as a movement joint.
1.7 Suitability and compatibility of any proprietary substrate to receive tiling products should be recommended by the manufacturer and tested in an inconspicuous location before the full installation.
1.8 If tiling in a wet area, the area may require waterproofing. Refer to AS 3740-2010, AS 4654.2-2012, MBP (NZ) Limited have a complete range of waterproofing products that can be selected from our website at www.MBPLtd.co.nz
2.1 Concrete substrates must be structurally sound, dry, solid, and stable and the surface prepared to the requirements of AS 3958.1-2007.
2.2.1 Drying and shrinkage cracks occur as the concrete cures. Installing products over “green” concrete may result in cracks telegraphing through the tiling works as they develop in the concrete. To avoid this, wait at least 4-6 weeks as per AS 3958.1-2007, and repair cracks as per section 2.4.
2.2.2 Concrete shall be sufficiently dry. External areas may experience water infiltration or be exposed to rain which can re-saturate the concrete, increasing drying times. High moisture may increase a product's curing time and the possibility of efflorescence.
2.2.3 Concrete slabs should be installed over an acceptable and effective vapour barrier as per New Zealand Standards.
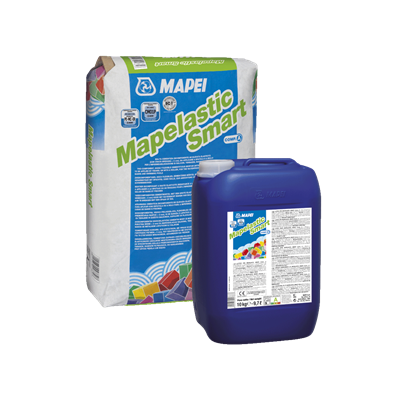
2.2.4 It is recommended to waterproof concrete swimming pools with Mapelastic Smart to increase the durability of the system.
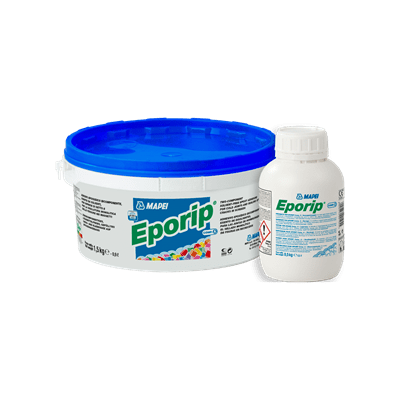
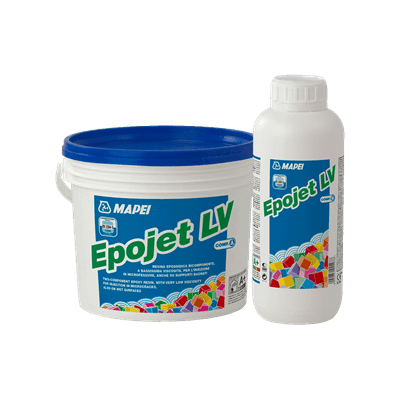
2.3.1 All unsuitable surfaces must be removed down to a solid and clean substrate. Use a hammer to sound out weak, hollow, and unsound material. Where cracks are located in the concrete substrate, they should be opened via mechanical means (grinder), then cleaned and vacuumed. These cracks must then be filled using MAPEI Eporip or Epojet LV, in accordance with the relevant product Technical Data Sheet, and the surface broadcast with sand to aid the bonding of subsequent products.
2.4.1 These acts as bond breakers, inhibiting the ability of products to bond and also affect curing times. All curing compounds, release agents, and silicate densifiers, irrespective of their type, (including dissipating curing compounds) must be mechanically removed. Conduct a water-drop test to test porosity and the presence of a topical product.
2.5.1 Concrete substrates that are covered/coated in dirt, oil, grease, paint, laitance, old adhesive residue and any other substance that may prevent or reduce adhesion must be removed. Materials used to remove oils and grease may also prevent adhesion, therefore, it is recommended to complete mechanical removal down to solid, sound, and uncontaminated concrete.
2.6.1 For an excellent bond to concrete, it’s important for the surface to have an adequate concrete surface profile (CSP) to promote bonding. The concrete should be finished with a screed, wood float, broom, or power float type finish. This equates to a CSP of 1 to 3 for tile adhesives. Steel-trowelled slabs are more difficult to adhere to and it is recommended to mechanically prepare.
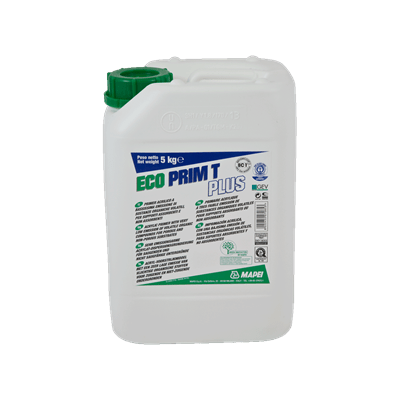
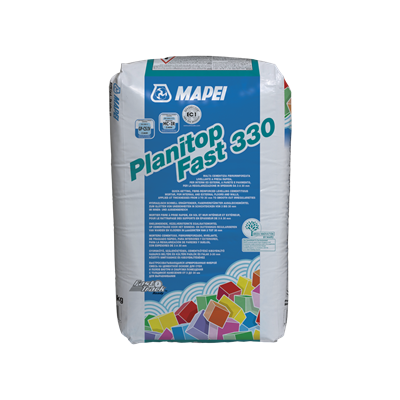
2.7.1 Should the concrete be out of level or not sufficiently flat on internal substrates, the substrate can be primed with Eco Prim T Plus and levelled with UC Leveller. For external substrates, Planitop Smooth and Repair R4 or Planitop Fast 330 can be used. If the height is permissible, installing a screed is an option. A levelled surface is especially important using large format tiles.
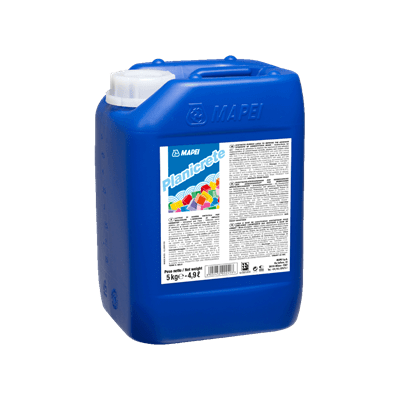
3.1 Sand-cement screeds should generally incorporate a latex additive (such as Planicrete) and should be installed as per the guidelines in Appendix A of AS 3958.1-2007.
3.2 AS 3958.1-2007 states that sand-cement screeds should be “cured for at least 7 days per cm or thickness” before tiling”. Screed subfloors shall be sufficiently dry with a moisture content of less than 75% RH as per AS 3958.2-1992.
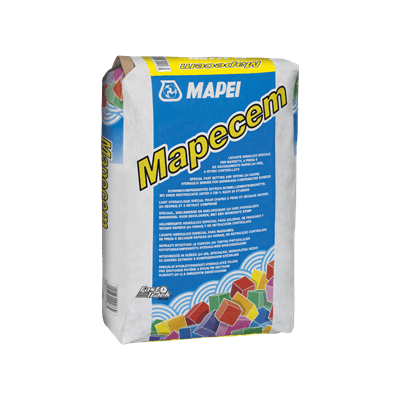
3.3 Alternatively, engineered screed products such as Mapecem or Topecem, or Mapecem Pronto can be used to facilitate a controlled and rapid installation. Refer to the relevant product Technical Data Sheets installation and curing times.
3.4 If the full depth of a concrete substrate is contaminated (e.g. oil) or if it is particularly prone to cracking or movement, an unbonded screed is preferred. Use a layer of 200 μm polythene sheet or similar material to separate the substrate.
3.5 For large areas, control joints should be incorporated to match the specified movement joints in the tiling works.
3.6 In external or internal wet areas, incorporate falls in the screed as required by the New Zealand Standards and Building Code of New Zealand.
4.1 Brush and wash any loose dirt or render with a hard bristle broom. Ensure the joints are also raked of any loose material. If the surface is painted, scratch the surface to remove any loose paint, flakes, or dust.
4.2 Blockwork substrates should be rendered with Planitop Fast 330 to fill in any mortar joints and to provide a suitably rendered finish prior to tiling. Maximum variation in the plane of 4 mm in 2 metres.
4.3 On external walls, waterproofing with Mapelastic Smart may be applied to aid in minimising efflorescence and to assist with the durability of the system.
4.4 For external façade tiling, ensure the render and substrate achieve a minimum tensile strength of at least 1 MPa.
5.1 These substrates generally have low mechanical strengths and are susceptible to high point loads. They should generally only be used in internal residential environments. Follow the recommendations from the manufacturer.
5.2 Due to their porous nature, prime with Eco Prim T Plus or Primer 3296 diluted with 1-2 parts water. Use two coats of primer if necessary. Ensure no puddling occurs.
5.3 AAC is not an acceptable substrate for direct tiling on external facades. AAC is not an acceptable substrate for the application of MAPEI waterproofing or levelling products.
6.1 Prior to tiling, these systems must be mechanically scratched using a diamond disk on a low-speed grinder or a sander to create a keyed finish. Ensure the grinder or sander does not burnish the substrate due to high speeds.
6.2 Ensure substrate is clean.
6.3 PVC can be a difficult substrate to bond to, as such, resin-based adhesives (Kerapoxy Adhesive) should be applied. Refer to the relevant product Technical Data Sheets.
7.1 Fibre cement sheeting and plasterboard must comply with the applicable New Zealand Standards and must be installed as per the manufacturer’s recommendations. Ensure the sheeting is suitable for the intended tiling system and application environment.
7.2 Most sheets have a surface layer of dust that must be removed by wiping down with a damp cloth or mop and allowed to dry.
7.3 Highly absorbent substrates that have not been sealed should be primed with Eco Prim T Plus or Primer 3296 so that the adhesive curing isn’t adversely affected. Refer to the relevant product Technical Data Sheets.
8.1 Wood-based substrates are generally sensitive to moisture which can lead to issues such as warping and instability. Extra care is need when attempting to tile on these substrates.
8.2 All wood underlayments must be recommended and guaranteed by the wood underlayment manufacturer and the floor-covering manufacturer and comply with the applicable New Zealand Codes and Standards.
8.3 Stripwood subfloors, Presswood, chipboard, flakeboard, and similar types of dimensionally unstable materials are generally not acceptable substrates for the installation of surface preparation products and adhesives.
8.4 Plywood surfaces must be installed with the sanded face up and have a minimum thickness of 17 mm and be CCA treated
8.5 Do not install over a subfloor that is in direct contact with the ground. Good ventilation is essential underwood substrates to prevent distortion, decay, and excessive movement. The requirements of the relevant local regulatory authority for underfloor clearance and provision of ventilators shall be followed. In the absence of such requirements, precautions outlined in AS 3958.1-2007 must be followed.
8.6 Under no circumstances should any flooring material be laid over wood underlayments or subfloors that are under conditions that might cause buckling or rotting of the wood. Always replace wood subfloors or underlayments that have been subject to water damage.
9.1 All gypsum substrates must be dry, clean, flat, and properly primed with a manufacturer recommended primer such as MAPEI’s Eco Prim T Plus or Eco Prim Grip. Refer to relevant MAPEI Technical Data Sheets.
9.1.1 Note: Un-primed gypsum substrates may leave a dusty residue on the surface and have a slightly higher porosity factor that could affect the adhesive’s open time and weaken the adhesive bond. A complete installation failure may occur if the substrate is not properly primed prior.
9.2 Allow the applied primer to dry completely before installation of adhesives or waterproofing.
10.1 Metal substrates must be rigid, solidly fixed in place, and free of paint, primer, oil, rust, corrosion, or other contaminants. Ensure the metal has been treated with a suitable rust treatment.
10.2 A resin-based adhesive such as Keralastic T is recommended over metal substrates. Refer to the relevant product Technical Data Sheet.
11.1 Ceramic tiles, porcelain tiles, and cement terrazzo must be firmly bonded, clean, and free of dust, dirt, oil, grease, paint, wax, sealer, soap, and any other substance that may prevent or reduce adhesion. The existing tiles can be slightly roughened by mechanical means. Any loose tiles or grout joints should be removed and filled with Planitop Fast 330 The area must then be vacuumed, mopped, and allowed to dry prior to the application of Eco Prim Grip.
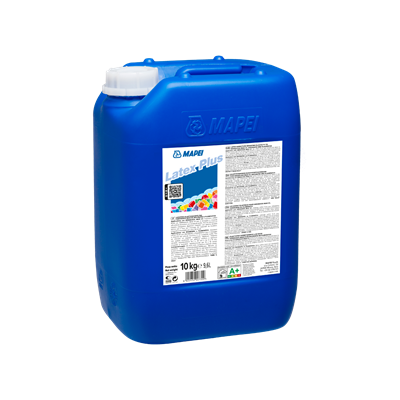
11.2 It is possible to tile over vinyl sheets or tiles (non-cushioned backed) in residential environments providing that they are firmly bonded, clean, and free of contaminants. Sand the vinyl to provide a mechanical key. Use Keralastic T or Keraquick S1 + Latex Plus to tile over these substrates. Alternatively, Mapeprim SP can be used to prime the vinyl. For commercial environments, it is recommended to remove the vinyl flooring.
11.3 The following existing floor coverings are generally not acceptable for the installation of surface preparation products and adhesives: self-stick tile, glass tile, linoleum, laminate, fiberglass, poured epoxy floors, and other dimensionally unstable and/or non-porous materials. These should be removed back to the structural substrate or consult an MBP (NZ) Limited technical representative for more information.
11.3.1 Warning: Do not sand or remove any existing resilient floors or cutback adhesive that contains asbestos fibers or crystalline silica. Follow all local, state, and federal regulations and industry standards when mechanical removal is required.
11.4 Refer to Technical Data Sheets for details on MAPEI product suitability over an existing floor covering.
12.1 To ensure a successful tiling installation, the correct selection of the system components is essential. Refer to the MAPEI Adhesive and Selection Guide or MAPEI Work Method Statements (WMS), both of which can be found at www.MBPLtd.co.nz
This guide is to be used as a general reference for preparing substrates to receive MAPEI products. The objective was to present a large variety of substrate conditions; however, it is not possible to define and specify every possible situation that may occur on-site.
As such, it is strongly recommended to complete a test area on-site in order to ensure the suitability of the preparation.
Subscribe to our newsletter to get Mapei news