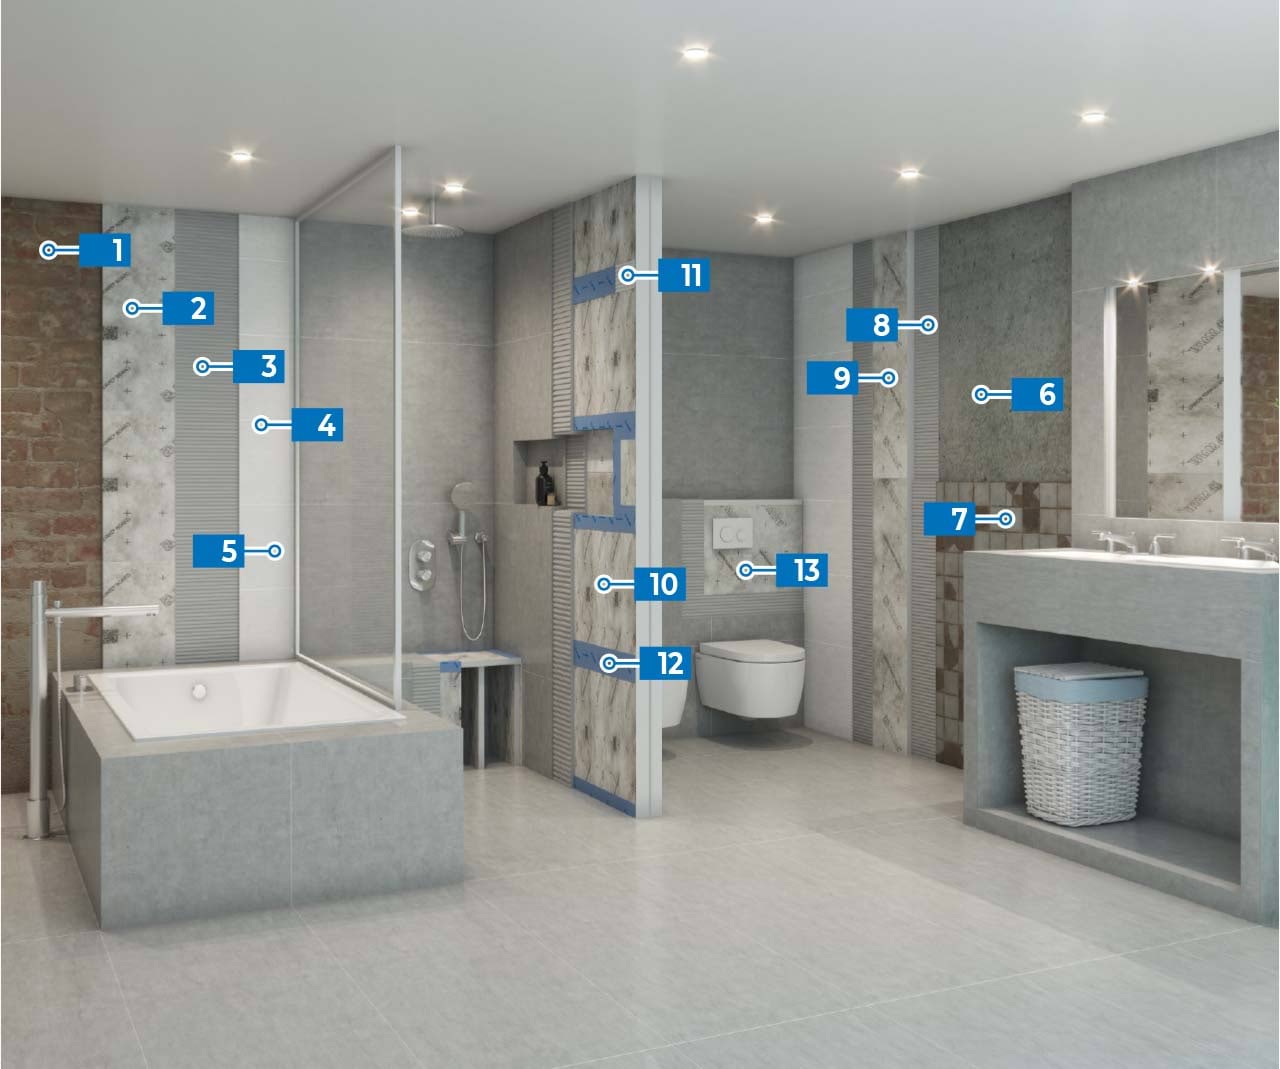
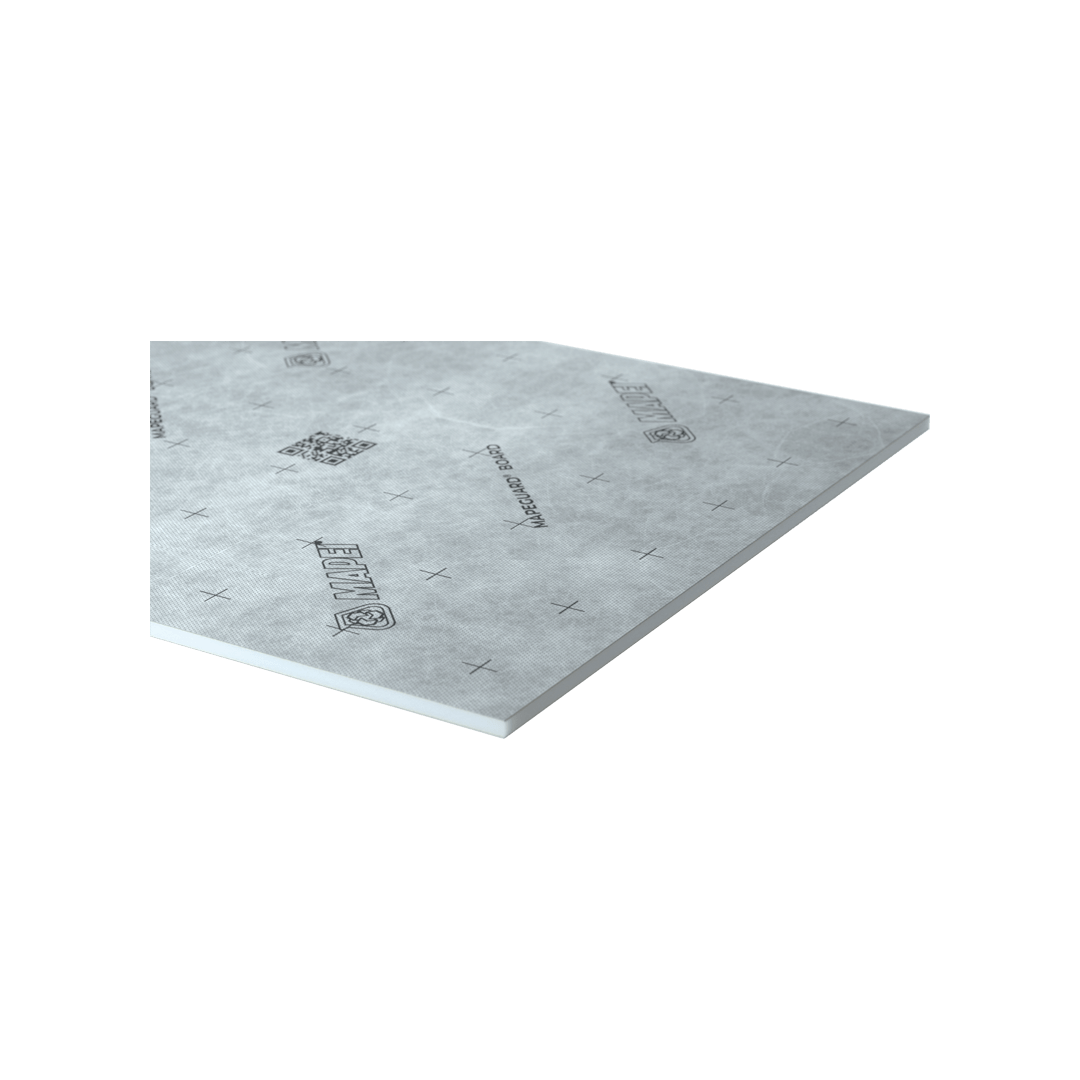
Waterproofing multipurpose panels
MAPEGUARD BOARD assembled with hybrid sealant MAPEFLEX MS45
Cut the panels to the size required with a cutter. Create holes and openings for through elements using a drill with a hole-saw bit or with a reciprocating saw.
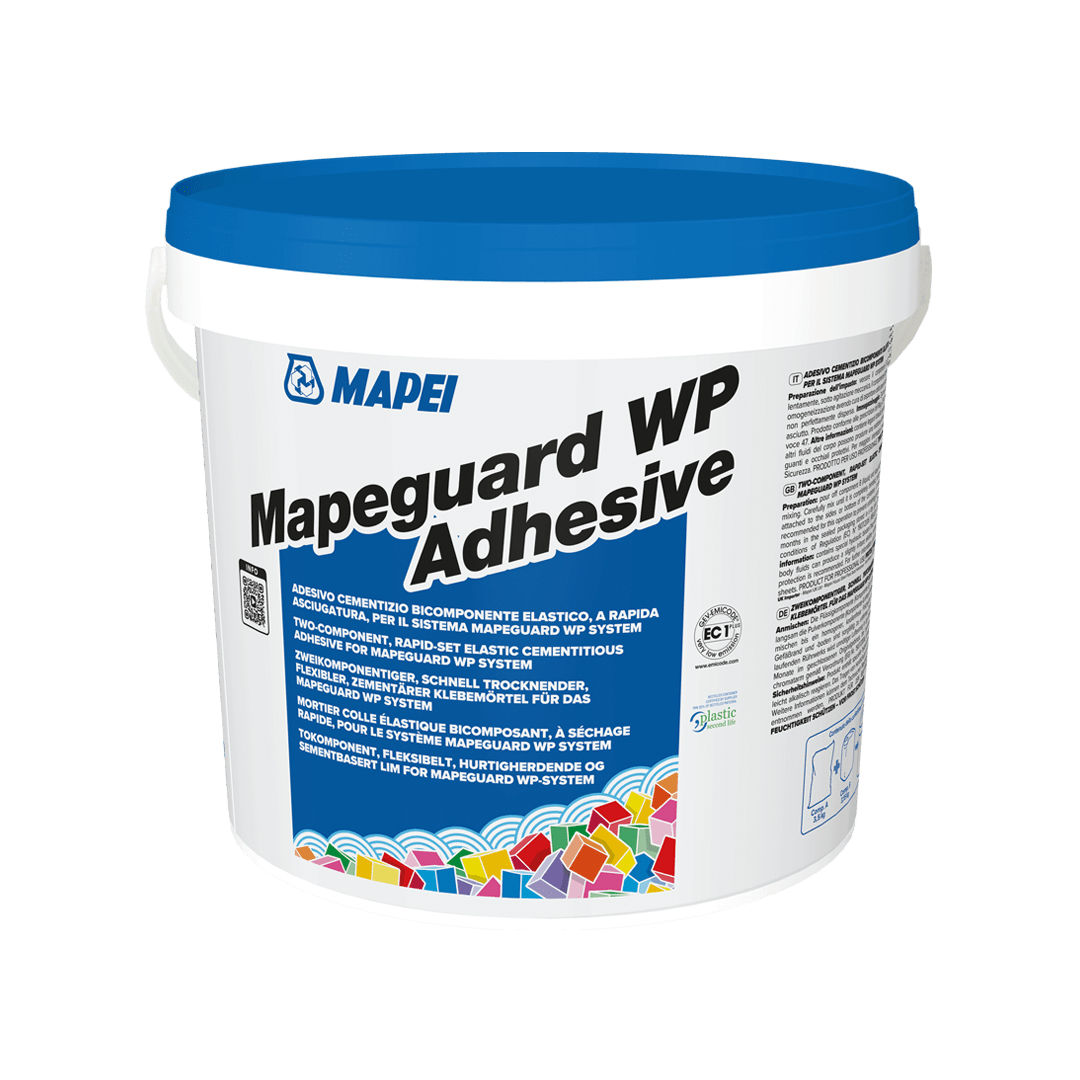
Use the hybrid sealant and mechanical fasteners to assemble the panels to create partitions and furnishing features.