System for installing ceramic tiles on a compact heated screed with high thermal conductivity with an isolating and anti-fracture membrane
Rif n° R6.29
Application steps
Discover the application steps, the products used for this solution and other alternative products.
1
Existing ceramic floor
The old tiles must be clean and well bonded to the base layer. Clean the surface of the existing floor with ULTRACARE HD CLEANER diluted 1:5 or 1:10 with water according to the amount of dirt on the floor.
2
Filling mortar for removed tiles
After checking and preparing the existing substrate, fill any gaps left after removing damaged tiles by applying the skimming product with a trowel.
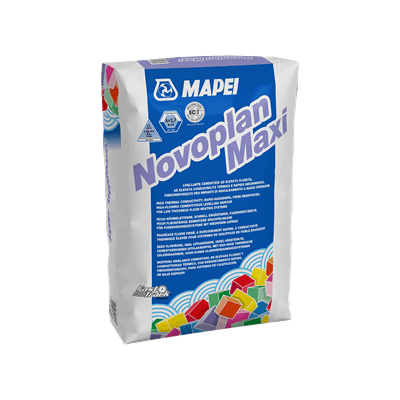
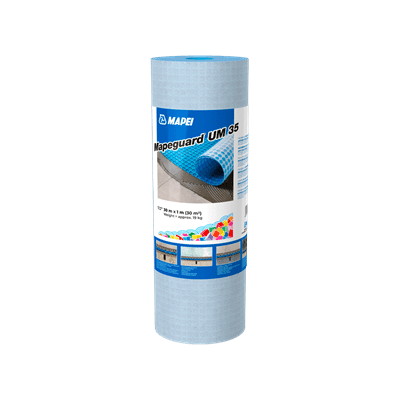
Skim the surface by applying the cementitious levelling product with high thermal conductivity with a large metal trowel or rake. The thickness must be at least 3 mm over the dimples in the panels, up to a maximum total thickness of 40 mm.
Apply the adhesive using the double-buttering method with a notched trowel suitable for the type and format of the tiles so that the back of the tiles is sufficiently wetted with adhesive. While installing the tiles use levelling systems from the MAPELEVEL line to maintain the correct width for the grouts and to reduce lippage between adjacent tiles.
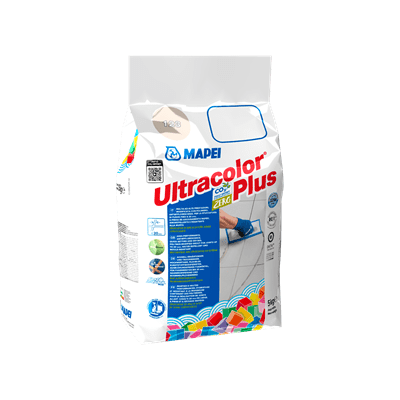
Once the adhesive has set, carefully fill the grouts to their full depth using a rubber trowel without leaving gaps or steps. When the mix starts to lose its plasticity, clean off any excess product with a damp cellulose sponge. They may also be finished off while the product is partially hardened by going over the surface with a damp abrasive pad (such as a Scotch-Brite® pad). Remove any cementitious residues with ULTRACARE KERANET.