System for waterproofing and installing ceramic tiles on terraces and balconies with a waterproofing, uncoupling and anti-fracture membrane

New building
Balcony/Terrace
Installation of ceramic tiles; Waterproofing

Products

1
Damp proofing membrane
2
Cementitious screed
Create a 40 to 80 mm thick sloping screed. Position a series of levelling guides, spread the mix, carefully compact the mix and float-finish the surface.
3
Adhesive
Spread the adhesive on the screed with a No. 5 notched trowel to bond the membrane.
4
Waterproofing, uncoupling and anti-fracture membrane
Place the membrane on the adhesive while still fresh and press down firmly on the surface with a float or a MAPEGUARD ROLLER.
5
Adhesive
Spread the adhesive with a 3 mm notched trowel.
6
Rubber tape
Apply the tape to waterproof the joints between the sheets of membrane and all the corners and edges between the membrane and perimeter walls.
7
Adhesive
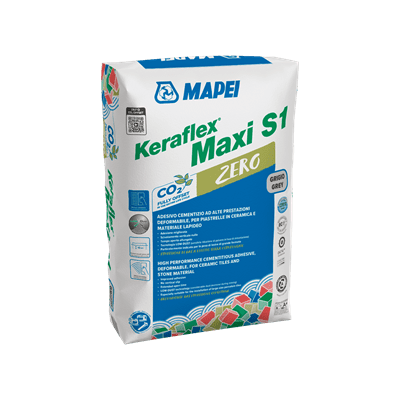
Apply the adhesive using the double-buttering method with a notched trowel suitable for the type and format of the tiles so that the back of the tiles is sufficiently wetted with adhesive.
8
Ceramic tiles
9
Grout
Once the adhesive has set, carefully fill the grouts to their full depth using a rubber trowel without leaving gaps or steps.
10
Sealant
Seal the perimeter and expansion joints after inserting MAPEFOAM to set the correct depth.
NOT REMOVE

Keep in touch

Subscribe to our newsletter to get Mapei news